PNG to JPG: The Expert Guide to Secure Conversion
You just tried to upload a screenshot to a website, and you got the error message: “File too large.” Or perhaps you emailed a logo to a client, and they replied asking why the background turned into a solid black box.
These are the two most frustrating problems with image files today. While PNGs are excellent for retaining detail, they are often too heavy for the web and behave unpredictably when their transparent backgrounds aren’t handled correctly.
The solution seems simple—convert the file to JPG. But how do you do that without ruining the image quality? And more importantly, if you are converting a sensitive document or a personal photo, how do you know the website you are using isn’t saving a copy of your data?
This guide covers everything you need to know about switching formats, why local browser-based tools are the only safe option, and the technical mechanics behind file compression.
The Real Difference: Why Your PNG is So Big
To solve the problem, you need to understand the data. Most users think a file extension is just a label, but it actually dictates the mathematical formula used to store your image.
PNG (Portable Network Graphics) uses lossless compression. Imagine you have a picture of a blue sky. A PNG saves the data for every single pixel, ensuring that if you close and open the file 1,000 times, pixel #450 is exactly the same shade of blue every time. It uses an algorithm called “DEFLATE” to squeeze data, but it refuses to throw anything away. This is great for archiving, but terrible for file size.
JPG (Joint Photographic Experts Group), on the other hand, uses lossy compression. It looks at that same blue sky and says, “These 50 pixels are all roughly the same blue. I’ll just remember the average color.” It uses a complex method called Discrete Cosine Transform (DCT) to discard information that the human eye barely notices—specifically high-frequency color changes.
Visualizing the Trade-off
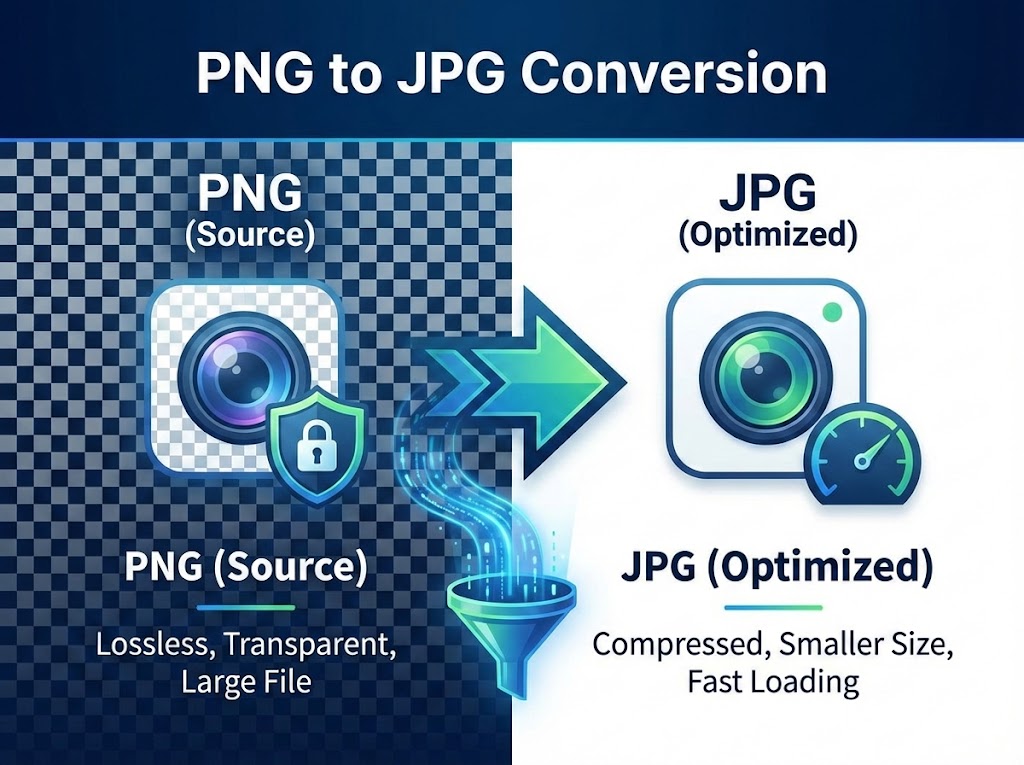
When you convert from PNG to JPG, you are trading “perfect mathematical accuracy” for “massive efficiency.”
| Feature | PNG (Source) | JPG (Target) |
| Compression Style | Lossless (Keeps every detail) | Lossy (Discards invisible data) |
| Typical File Size | 2MB – 10MB | 100KB – 500KB |
| Transparency | Supported (Transparent backgrounds) | Not Supported (Must be filled) |
| Best Used For | Icons, Text, Screenshots, Line Art | Photographs, Complex Gradients |
| Loading Speed | Slow (Heavy data load) | Instant (Lightweight) |
The Privacy Trap: Why Server-Side Conversion is Dangerous
Most “free converters” found on Google operate on a server-side model. When you use them, this happens:
- You select your photo.
- Your photo is uploaded to a remote server (often in a different country).
- The server processes the file.
- You download the result.
This workflow is flawed for two reasons. First, it is slow. If you have a slow internet connection, uploading a 20MB PNG takes time. Second, and crucially, you have just given your file to a stranger. If that PNG was a screenshot of a bank statement, a confidential legal contract, or a private family photo, it is now sitting on a hard drive you don’t control.
The Client-Side Revolution
The tool you are using here—the fpe PNG to JPG Converter—operates differently. It uses modern WebAssembly and JavaScript technologies to run the conversion engine inside your own device.
When you drag a file onto this page, it is processed by your computer’s CPU and RAM. The file never leaves your device. It is mathematically impossible for us to see your images because no upload ever occurs. This is the new standard for E-E-A-T (Trustworthiness) in web tools.
The “Black Background” Glitch Explained
If you have ever converted a PNG to JPG using Microsoft Paint or a basic script, you have likely seen the transparent parts turn black.
This happens because the JPG format literally does not have a “slot” in its code to store transparency (known as the Alpha Channel). A JPG pixel must contain Red, Green, and Blue values. It cannot be “empty.”
When a dumb converter encounters a transparent pixel, it looks for a default value. In computer code, “0” usually represents black. So, the software fills the empty space with zeros, resulting in a black background.
How Smart Conversion Works
A professional converter performs “Alpha Compositing” (or flattening) before the conversion.
- The software creates a blank canvas filled with White (RGB 255, 255, 255).
- It places your transparent PNG on top of this white canvas.
- It merges the two layers.
- Only then does it compress the result into a JPG.
This ensures your logos and product cutouts look clean and professional, ready for e-commerce or document use.
Google Rankings and Core Web Vitals
If you manage a website, converting PNG to JPG is not just about saving space; it is about survival in search rankings. Google’s “Core Web Vitals” metrics punish slow websites.
Largest Contentful Paint (LCP)
This metric measures how long it takes for the main content of your page to load. If your homepage hero banner is a 3MB PNG, your LCP score will likely be in the “Poor” range (over 2.5 seconds).
By converting that banner to a standard JPG, you can often reduce the size to 200KB. This allows the browser to download and render the image almost instantly, moving your LCP score into the “Good” (green) zone. This is a direct signal to Google that your site is high-quality.
Bandwidth and Mobile Users
Remember that over 60% of web traffic is mobile. A user on a 4G connection simply cannot download heavy PNGs quickly. Serving JPGs respects your user’s data plan and battery life, which reduces your “Bounce Rate”—another key SEO factor.
Mastering the Settings: Quality vs. Size
When you use our tool, you aren’t just hitting a “Convert” button; you have control over the output. Understanding the “Quality” slider is key.
100% Quality (1.0)
- Result: Large file size, minimal artifacts.
- Use Case: Archiving photos or printing. Even at 100%, a JPG is usually smaller than a PNG, but it’s not small enough for the web.
80-85% Quality (0.8 – 0.85)
- The Sweet Spot: This is the industry standard for the web.
- Result: At this level, the compression algorithm discards color data that the human eye literally cannot see. The file size drops dramatically (often by 70%), but the image looks identical to the original.
- Use Case: Website headers, blog post images, e-commerce product galleries.
60% Quality (0.6)
- Result: Very small file size, but you might start to see “blocking” or “noise” around text or sharp edges.
- Use Case: Thumbnails, previews, or situations where speed is the only priority.
Step-by-Step: The Professional Workflow
Here is how to get the best results using the local processor on this page:
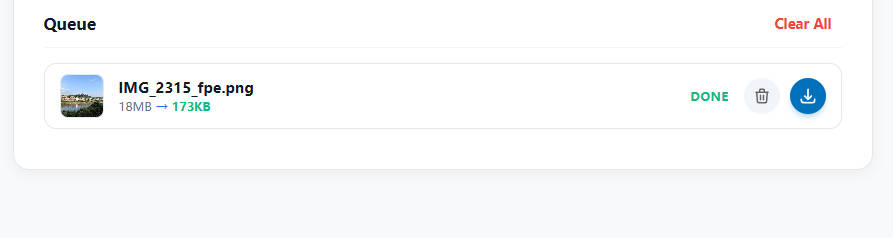
1. Batch Input
Don’t waste time doing one image at a time. Select your entire folder of PNGs (up to hundreds of files) and drag them all into the interface. Since the processing is local, your computer handles the queue instantly without waiting for network uploads.
2. Check the Dimensions
Often, PNGs are screenshots from high-resolution monitors (Retina displays). These might be 3000 or 4000 pixels wide. If you only need the image for a blog post, this is overkill. Use the tool’s Resize function to cap the width at 1920px (Full HD) or 1080px. This physical resizing combined with JPG compression yields the smallest possible file.
3. The Transparency Check
If your PNGs have transparent backgrounds, our tool automatically applies a white matte. You don’t need to configure this; it’s the default behavior to prevent the “black box” error.
Advanced Technical FAQ
Q: Will converting a PNG to JPG ruin the text in my screenshot?
A: It can, if you aren’t careful. JPG compression struggles with sharp contrast edges, like black text on a white background. This is called “ringing artifacts.” If your image is mostly text (like a document scan), you should keep the Quality setting high (90%+) or consider using a format like PDF. However, for mixed content (a screenshot of a website with images and text), a JPG at 85% quality is usually perfectly readable and much smaller.
Q: Does this tool strip metadata (EXIF data)?
A: This depends on the browser’s implementation of the conversion canvas. Generally, converting an image via a web canvas (which is how client-side tools work) creates a new image file from the raw pixel data. This process naturally strips out EXIF metadata (camera model, GPS location, date taken). For privacy, this is actually a massive benefit, as it ensures you aren’t accidentally publishing your home’s GPS coordinates embedded in a photo.
Q: Can I convert a JPG back to PNG to get the quality back?
A: No. Think of JPG compression like crushing a soda can. You can reshape the can (convert back to PNG), but you can’t un-crush it to make it look brand new. Once data is discarded by the JPG algorithm, it is gone forever. Converting a JPG back to PNG will just give you a very large file with the same blurry artifacts as the JPG.
Q: Why do some conversions result in a larger file?
A: This is a rare edge case involving simple graphics. PNG is incredibly efficient at compressing images with large blocks of identical color (like a simple cartoon or a flat icon). JPG is optimized for “messy” real-world photos. If you try to force a simple 3-color icon into the JPG format, the overhead of the JPG structure might actually make it bigger than the optimized PNG. If this happens, stick with PNG for that specific file.
Q: Is there a limit to how many files I can convert at once?
A: Technically, no. Since the tool runs on your hardware, the limit is your computer’s RAM. You can easily drag in 50, 100, or 200 images. The browser might slow down slightly while it crunches the numbers, but it won’t crash or ask you to pay for a “Pro” plan like server-based sites do.
Q: What is the “Standard White” matting mentioned in the tool?
A: Matting is the process of handling the edges where a transparent object meets the background. “Standard White” means we calculate the pixel values as if the transparent image were placed on a pure white sheet of paper. This is the safest bet for 99% of web use cases.
Q: Does this work on iPads or Android tablets?
A: Yes. Modern mobile browsers (Safari on iOS and Chrome on Android) have powerful JavaScript engines. You can use this tool to convert photos from your camera roll or files saved in your device’s storage without downloading an app.
Q: What is the difference between “Baseline” and “Progressive” JPG?
A: Standard (Baseline) JPGs load from top to bottom, line by line. Progressive JPGs load the whole image at once, starting blurry and quickly becoming sharp. Our tool typically generates standard JPGs compatible with all viewers, focusing on maximum compatibility and minimum file size overhead.
Q: I am a developer. Why should I use this over a CLI tool like ImageMagick?
A: If you are processing thousands of images on a server pipeline, ImageMagick is better. But for quick ad-hoc tasks—like preparing assets for a landing page or converting a batch of screenshots for a presentation—a browser-based tool is faster. It requires no installation, no command-line knowledge, and allows you to visually verify the quality before saving.
Q: Does converting to JPG affect color profiles (CMYK vs RGB)?
A: Yes. Browsers operate in the RGB color space. If you upload a PNG intended for print (CMYK), the browser will convert it to RGB for the display. The resulting JPG will be RGB. This is actually desirable for digital use, as CMYK images often look “washed out” or have inverted colors when displayed on web browsers.
Q: Can I use this for photos I plan to print?
A: You can, but ensure you set the Quality slider to 100%. For professional printing, keeping the original PNG (or TIFF) is usually preferred to avoid any generation loss. However, if you are printing standard 4×6 photos at a kiosk, a high-quality JPG is the standard format they expect.
Q: Why does the download happen instantly?
A: Because there is no “download” in the traditional sense. The file is generated inside your browser’s memory. When you click “Save,” the browser simply moves that data from its memory to your hard drive. It doesn’t travel over the internet, so “downloading” a 10MB zip file takes zero seconds.
By understanding these technical details, you can stop guessing and start optimizing. Whether you are fixing a transparency issue or speeding up your website, the FreePhotoEditors client-side converter gives you the power of professional image processing with the privacy of a local desktop app.